
Creating and modifying reports
Creating a new report
You can add multiple columns to a report that can contain data from categories or material items.
To create a new report profile:
- Go to Reports.
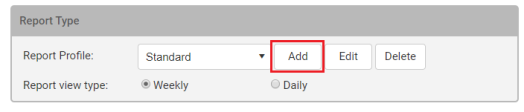
- In the Report Type section, click Add.
- To add a column to a report, click Add a column.

- Enter the name for the column in the Header field and then press Enter (or click the checkmark icon). This is the name of the column that will display on the report.
Note: Click the x icon to cancel without adding the column to the report. - Continue steps 3-4 to add as many columns as needed.
Note: You must have either tons and/or SY added as a column (at the dispatch level not the material item level) for the totaling of any quantities to work. - Select any of the following:
- Show “+/-” on individual tons: Select this checkbox if you want tonnage data to display “+/-” to indicate that values are approximate.
- Sort: You can sort report data by crew or plant.
- Total quantities by plant: Select this checkbox if you want to total quantities by plant.
- Total quantities by date: Select this checkbox if you want to total quantities by date.
- Total quantities by crew: Select this checkbox if you want to total quantities by crew.
- Enter the name of the report profile in the Save Profile As field.

- Click Save.
Note:If you enter the same name as another profile, both profiles will be saved as separate profiles with the same name.
Editing a report
To edit a report:
- Go to Reports.
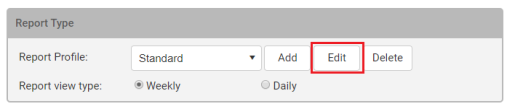
- In the Report Type section, click Edit next to the report you want to edit.
- To add a new report record, click Add new record.
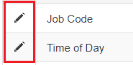
- To edit a report record, click the pencil icon to the left of the record.
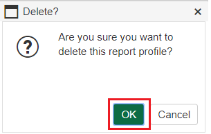
- To delete a report record, click the X icon to the right of the record, and then click OK.

Deleting a report
To delete a report:
- Go to Reports.
- In the Report Type section, click Delete next to the report you want to delete.
- Click OK.
Copyright © 2020 DropTime